 Help Center
For teachers · Getting started
Getting started with Kelvi
Kelvi is a thinking partner for mathematics, not an answer machine. This guide gets your class set up and shows you where to look once your students start working.
STEP 1
Create your account
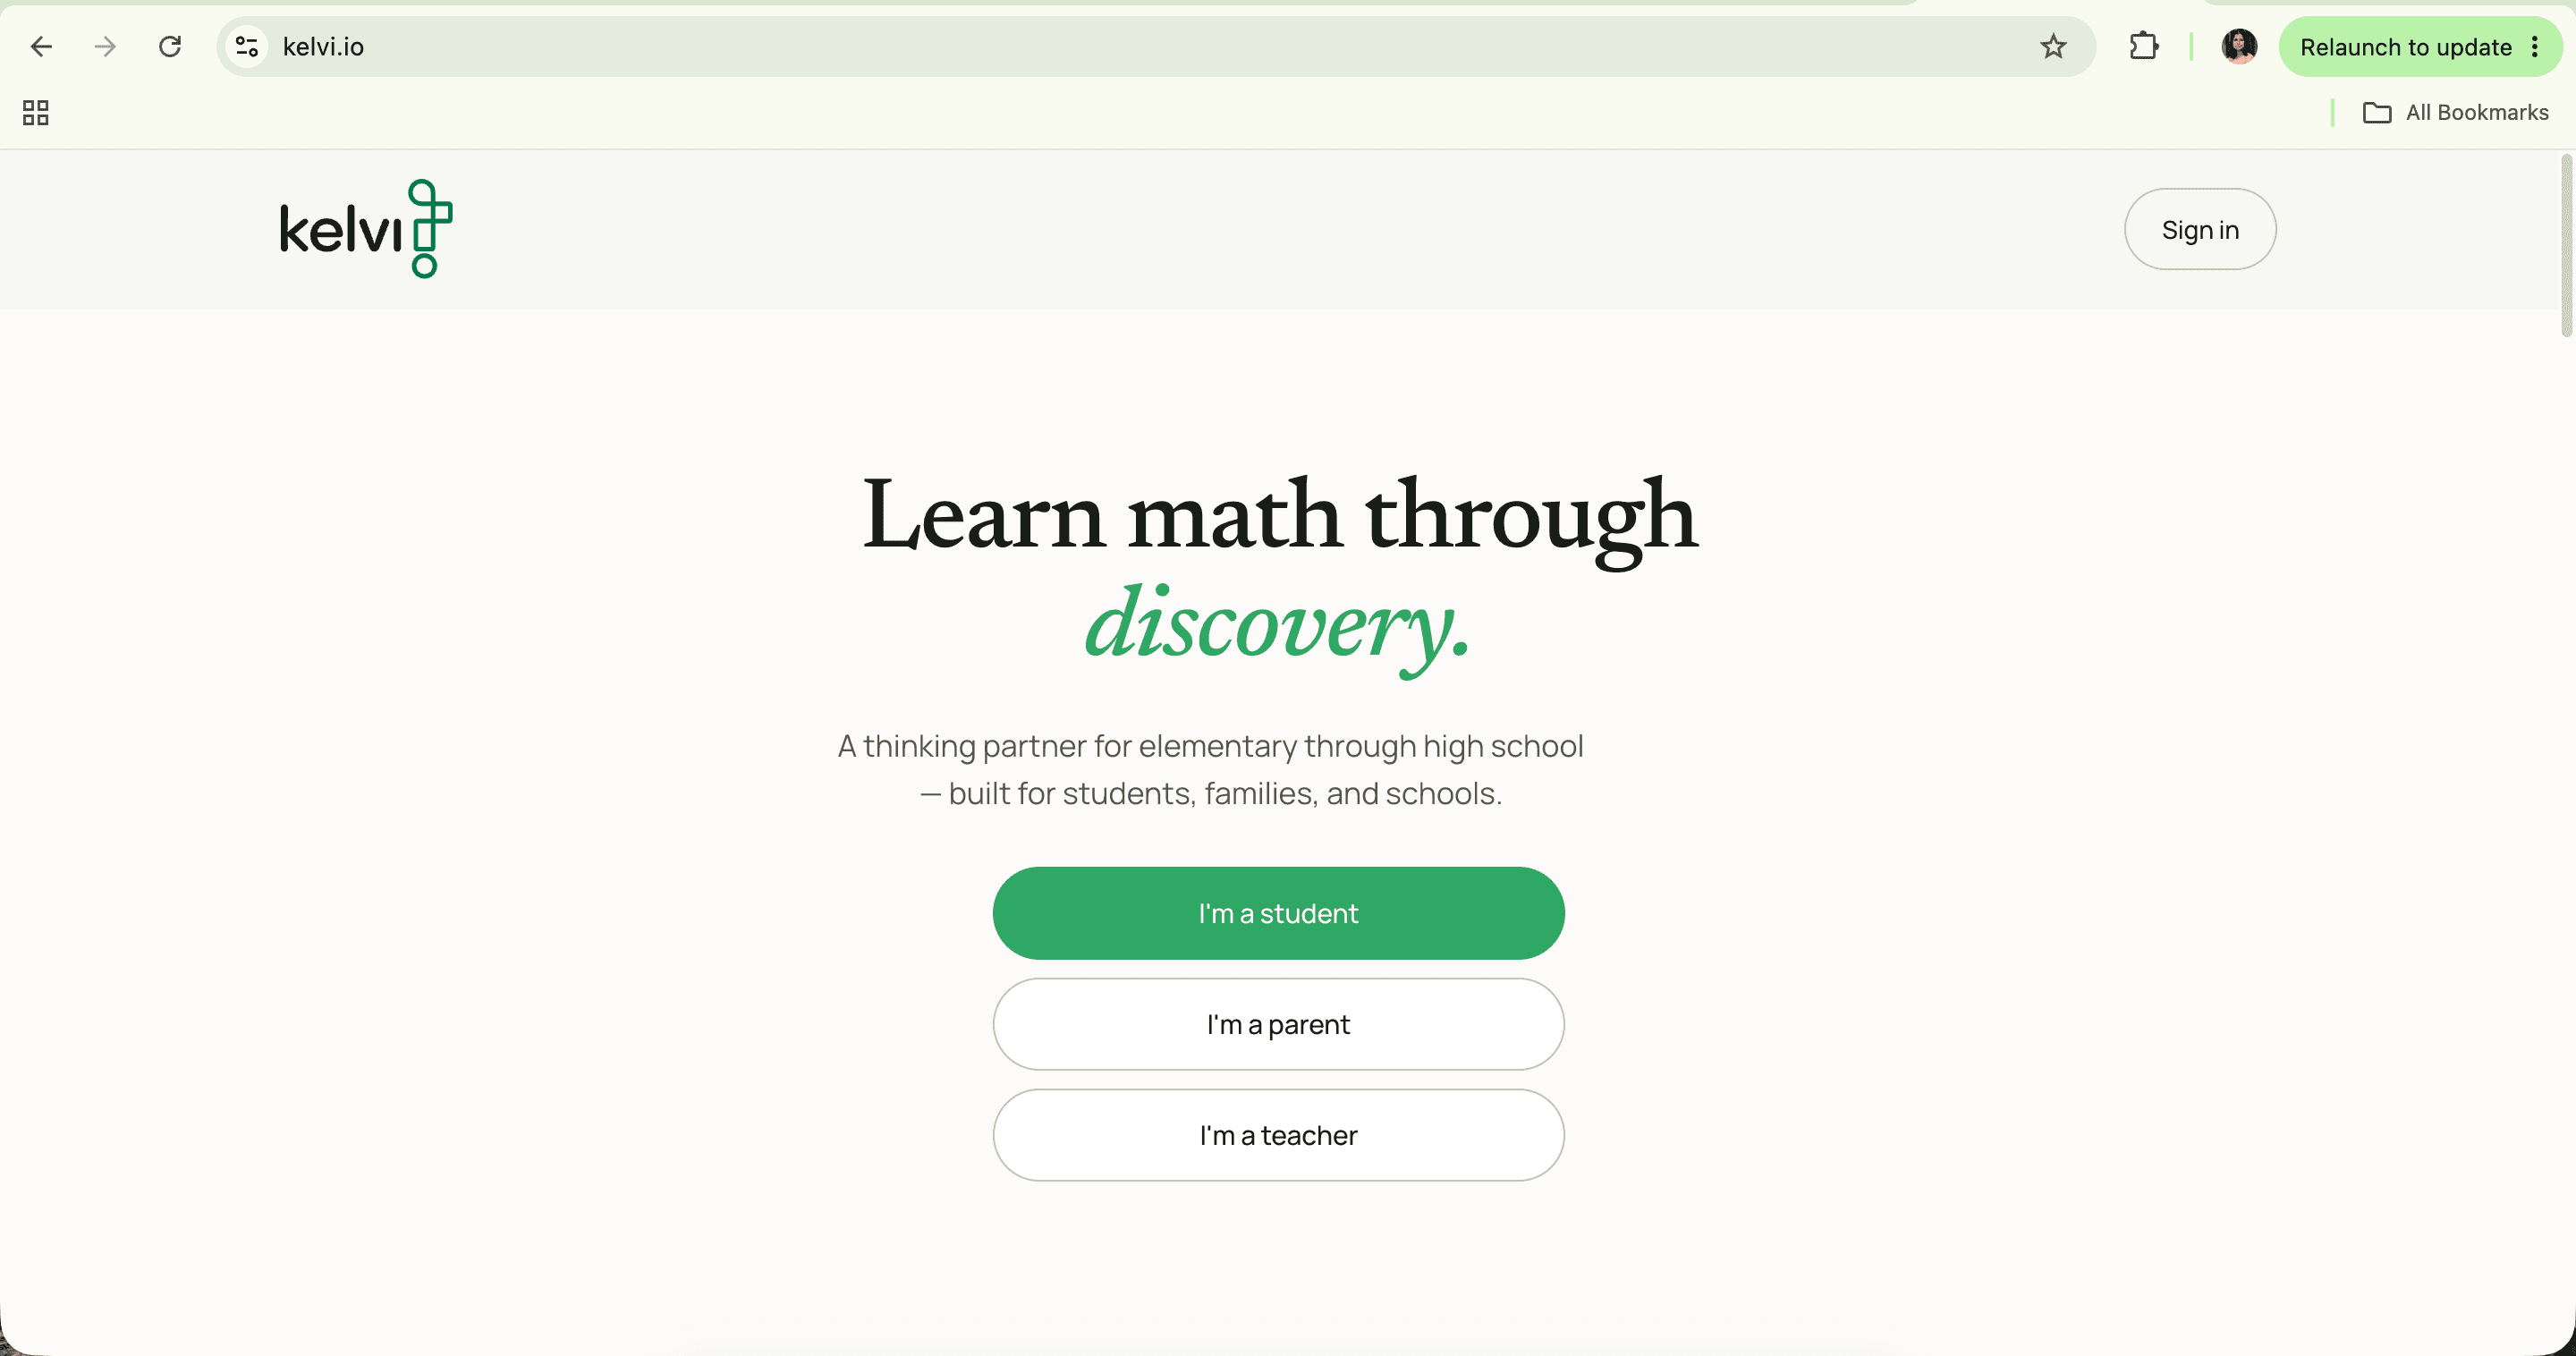
Open Kelvi Teacher and use Google or an email code. Use an email address you can open. You do not need a new password.
STEP 2
Set up your class
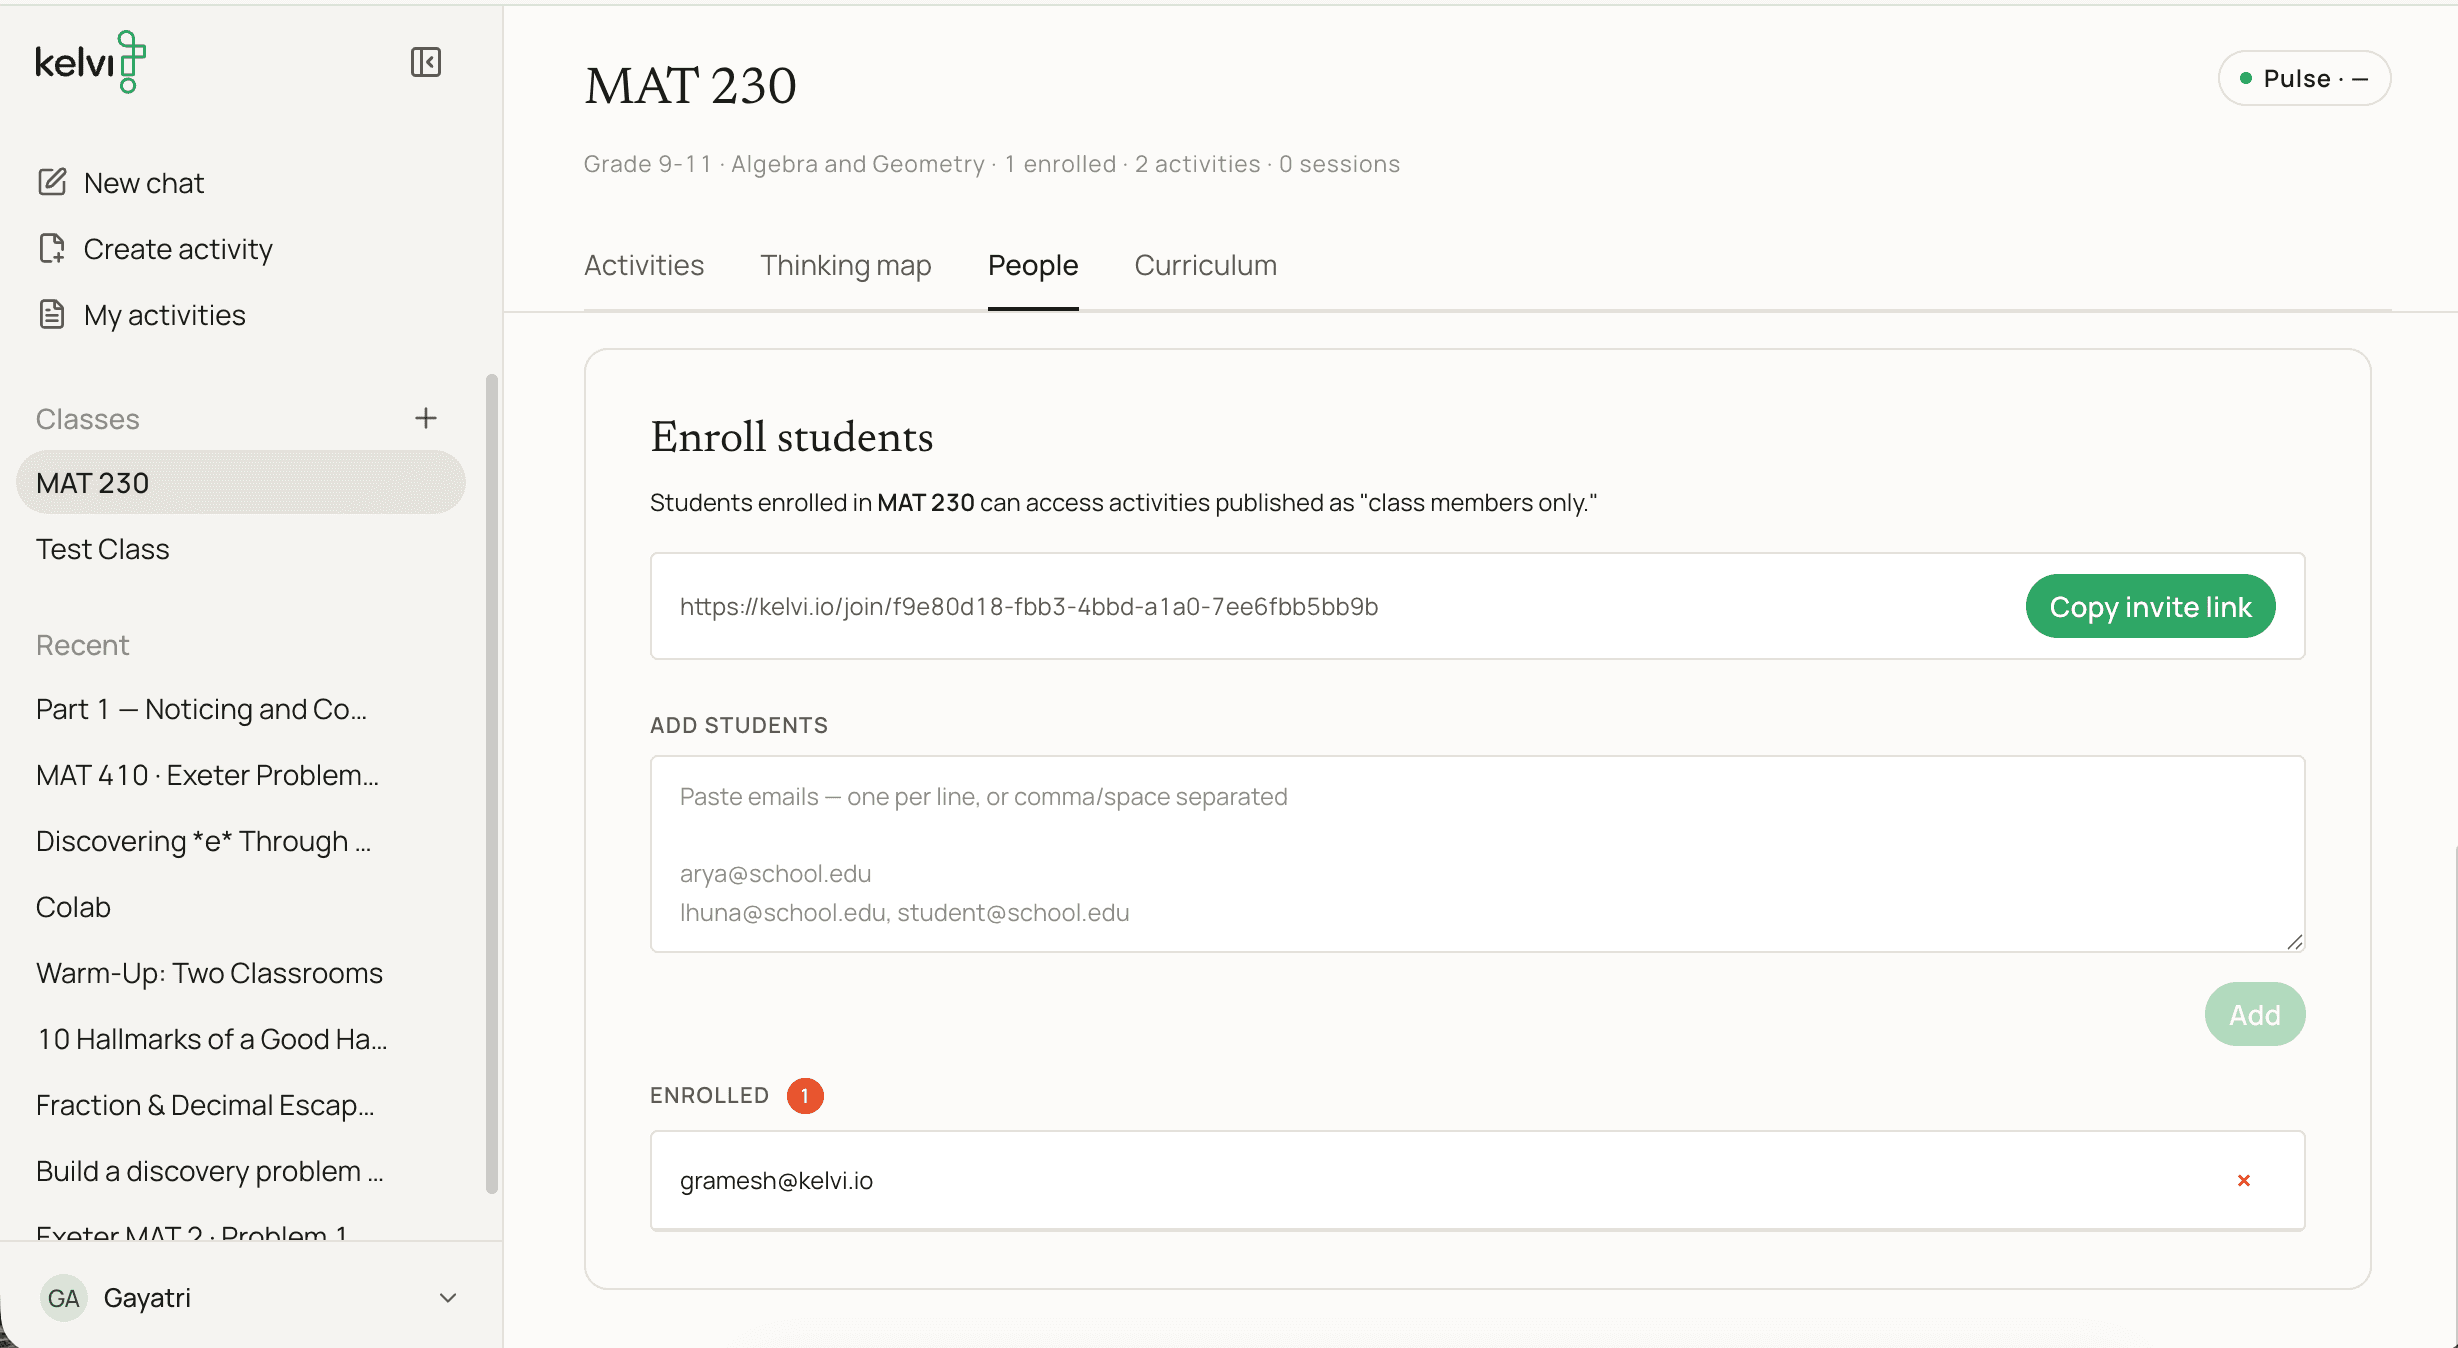
Create a class, then open Roster and Manage students. Add names for students without email and print their login cards. For students with email, add their addresses or share the class link. You can also add co-teachers.
STEP 3
Build your first activity
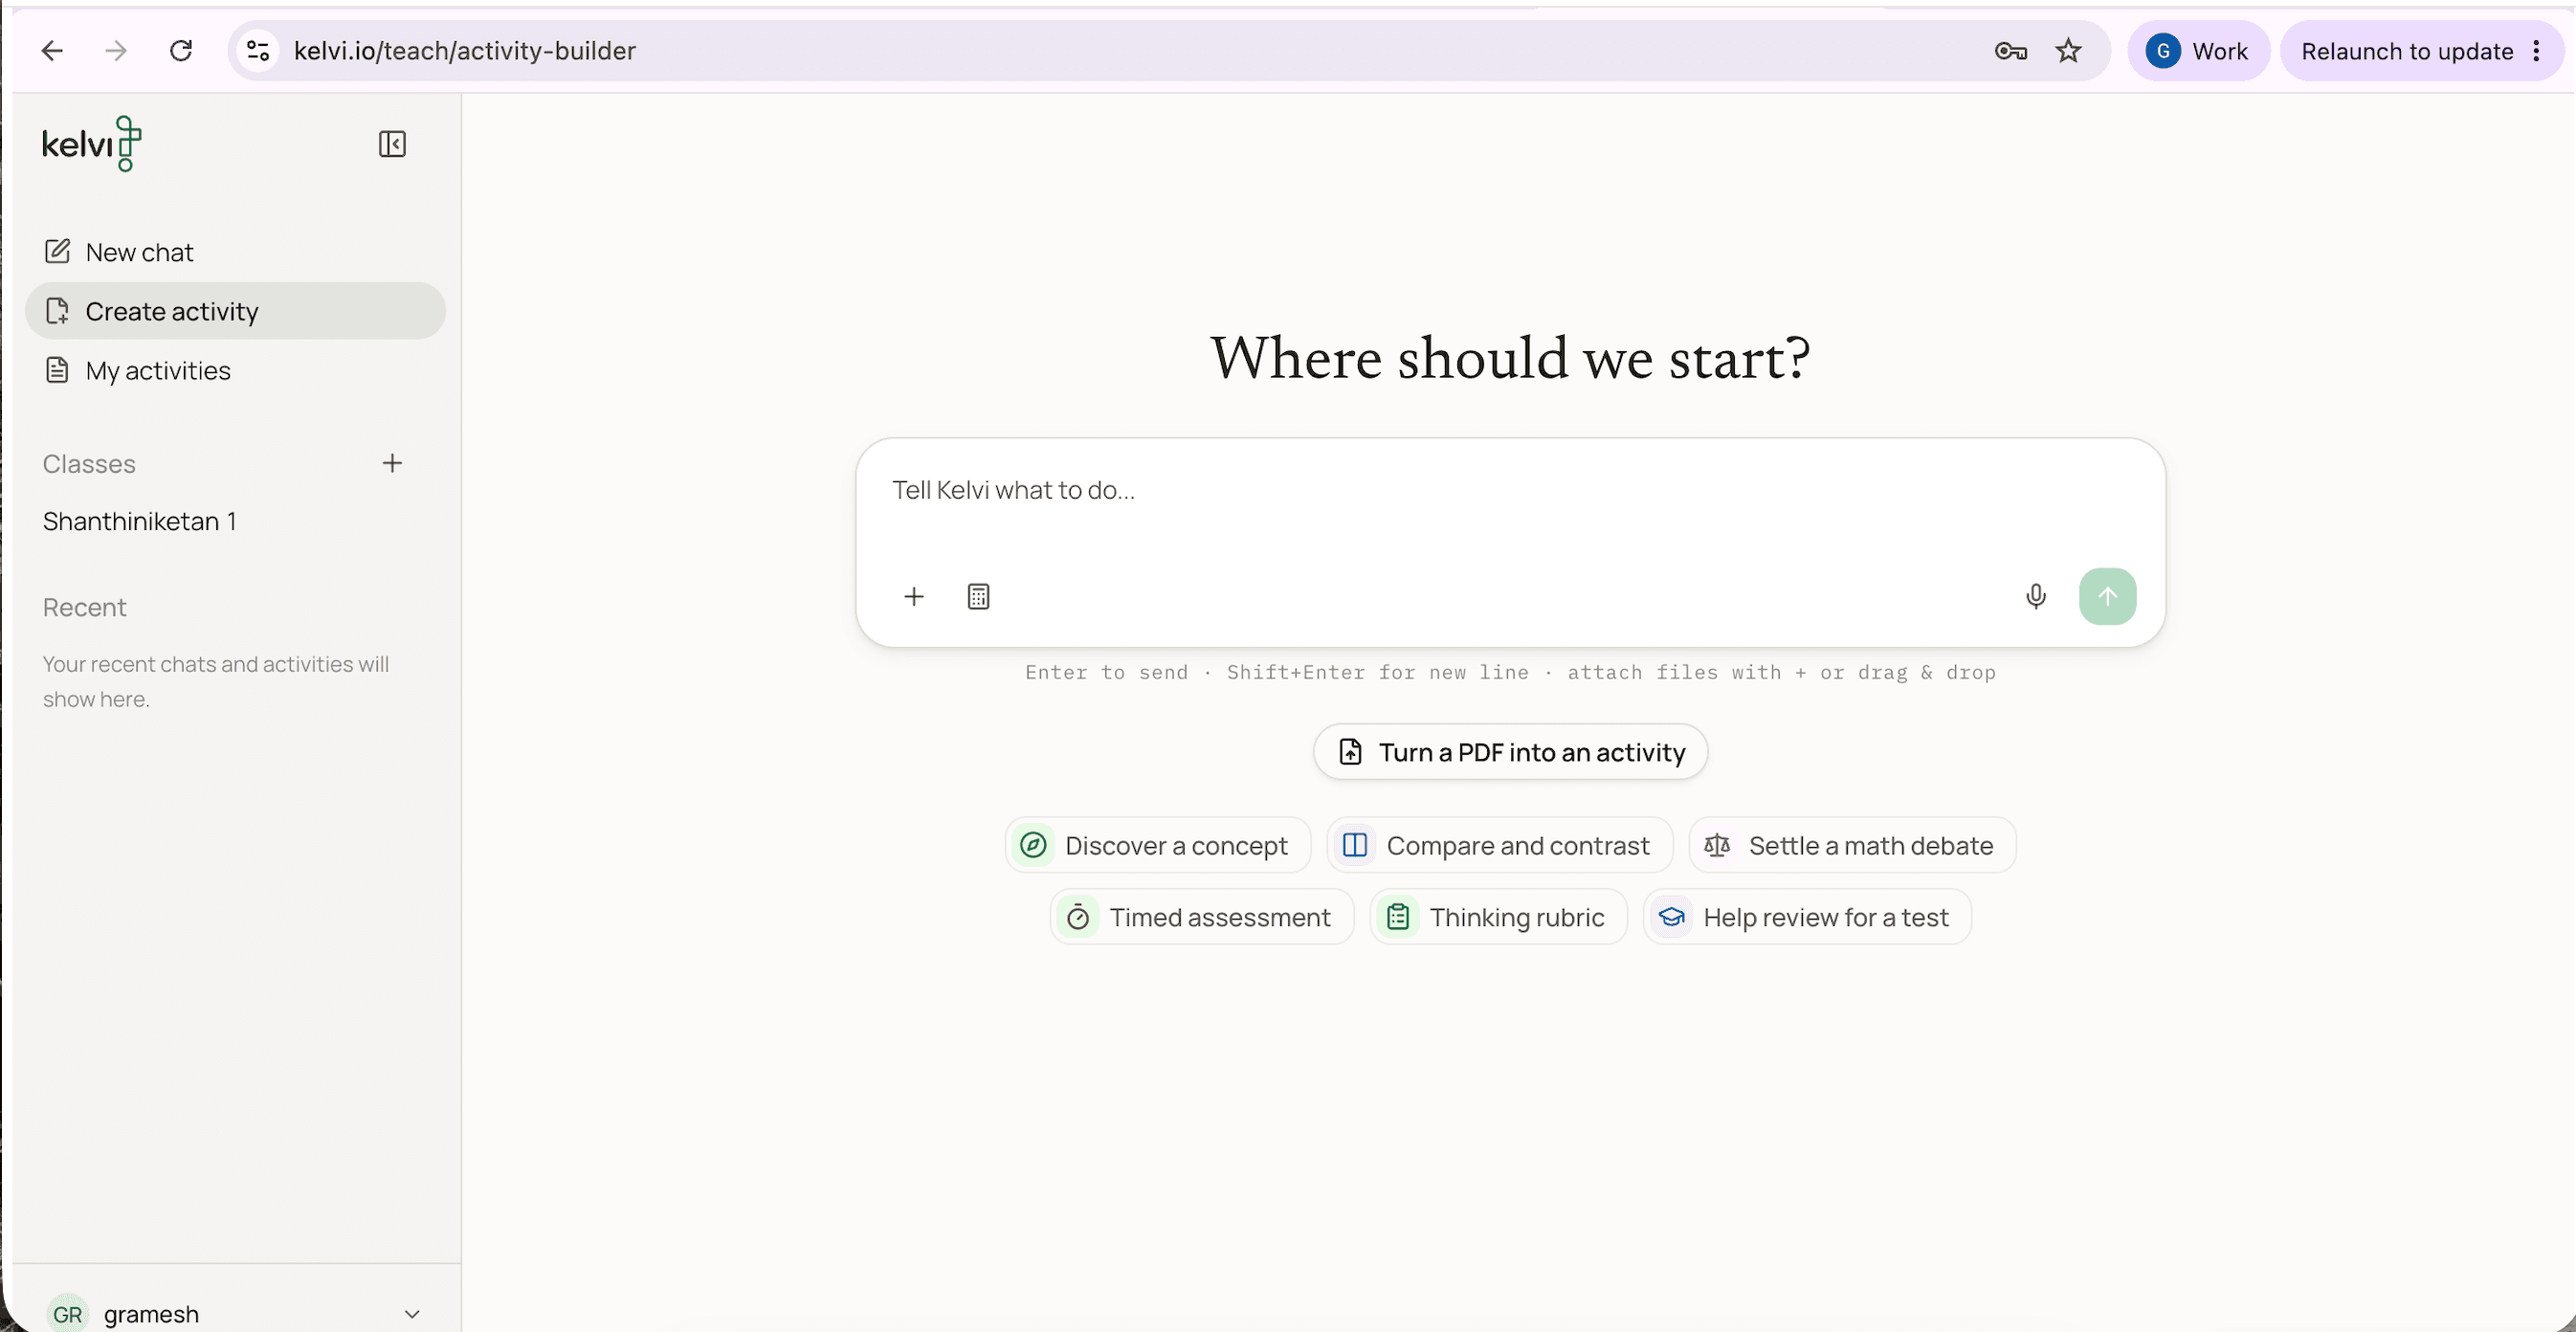
Start small — one or two problems from a lesson you're teaching this week. Type them in directly. An activity can be a single discovery problem, a short worksheet, or a discussion prompt.
STEP 4
Preview it as a student
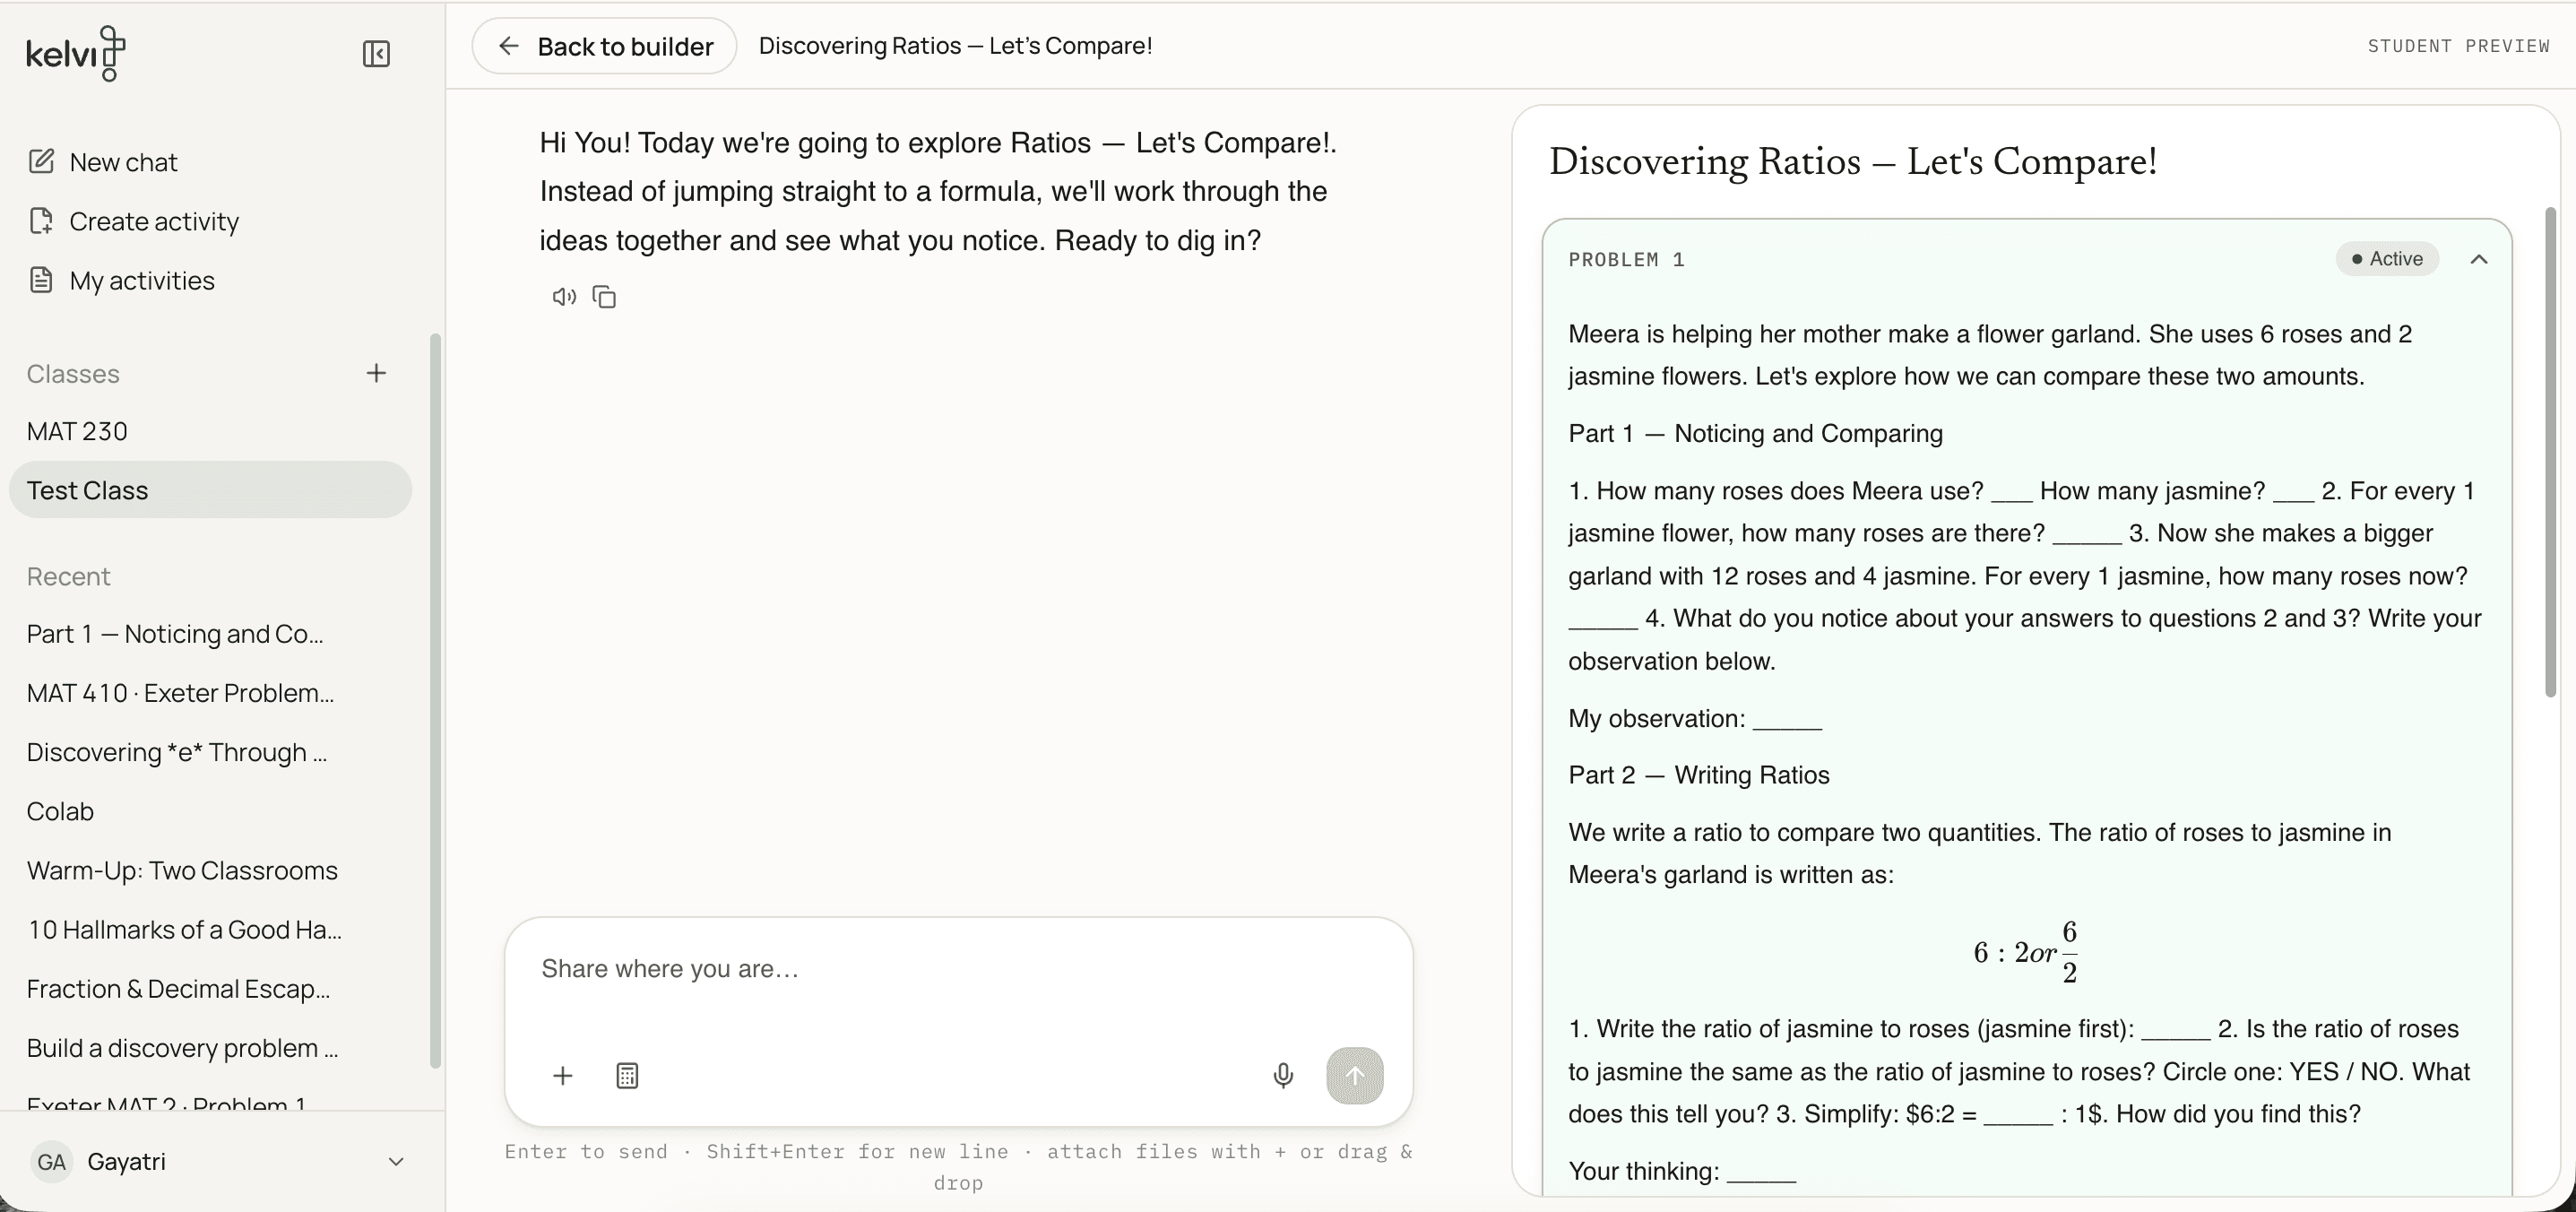
Before sharing, try answering the way a student might — including a wrong turn — to see how Kelvi responds.
STEP 5
Share it with your class
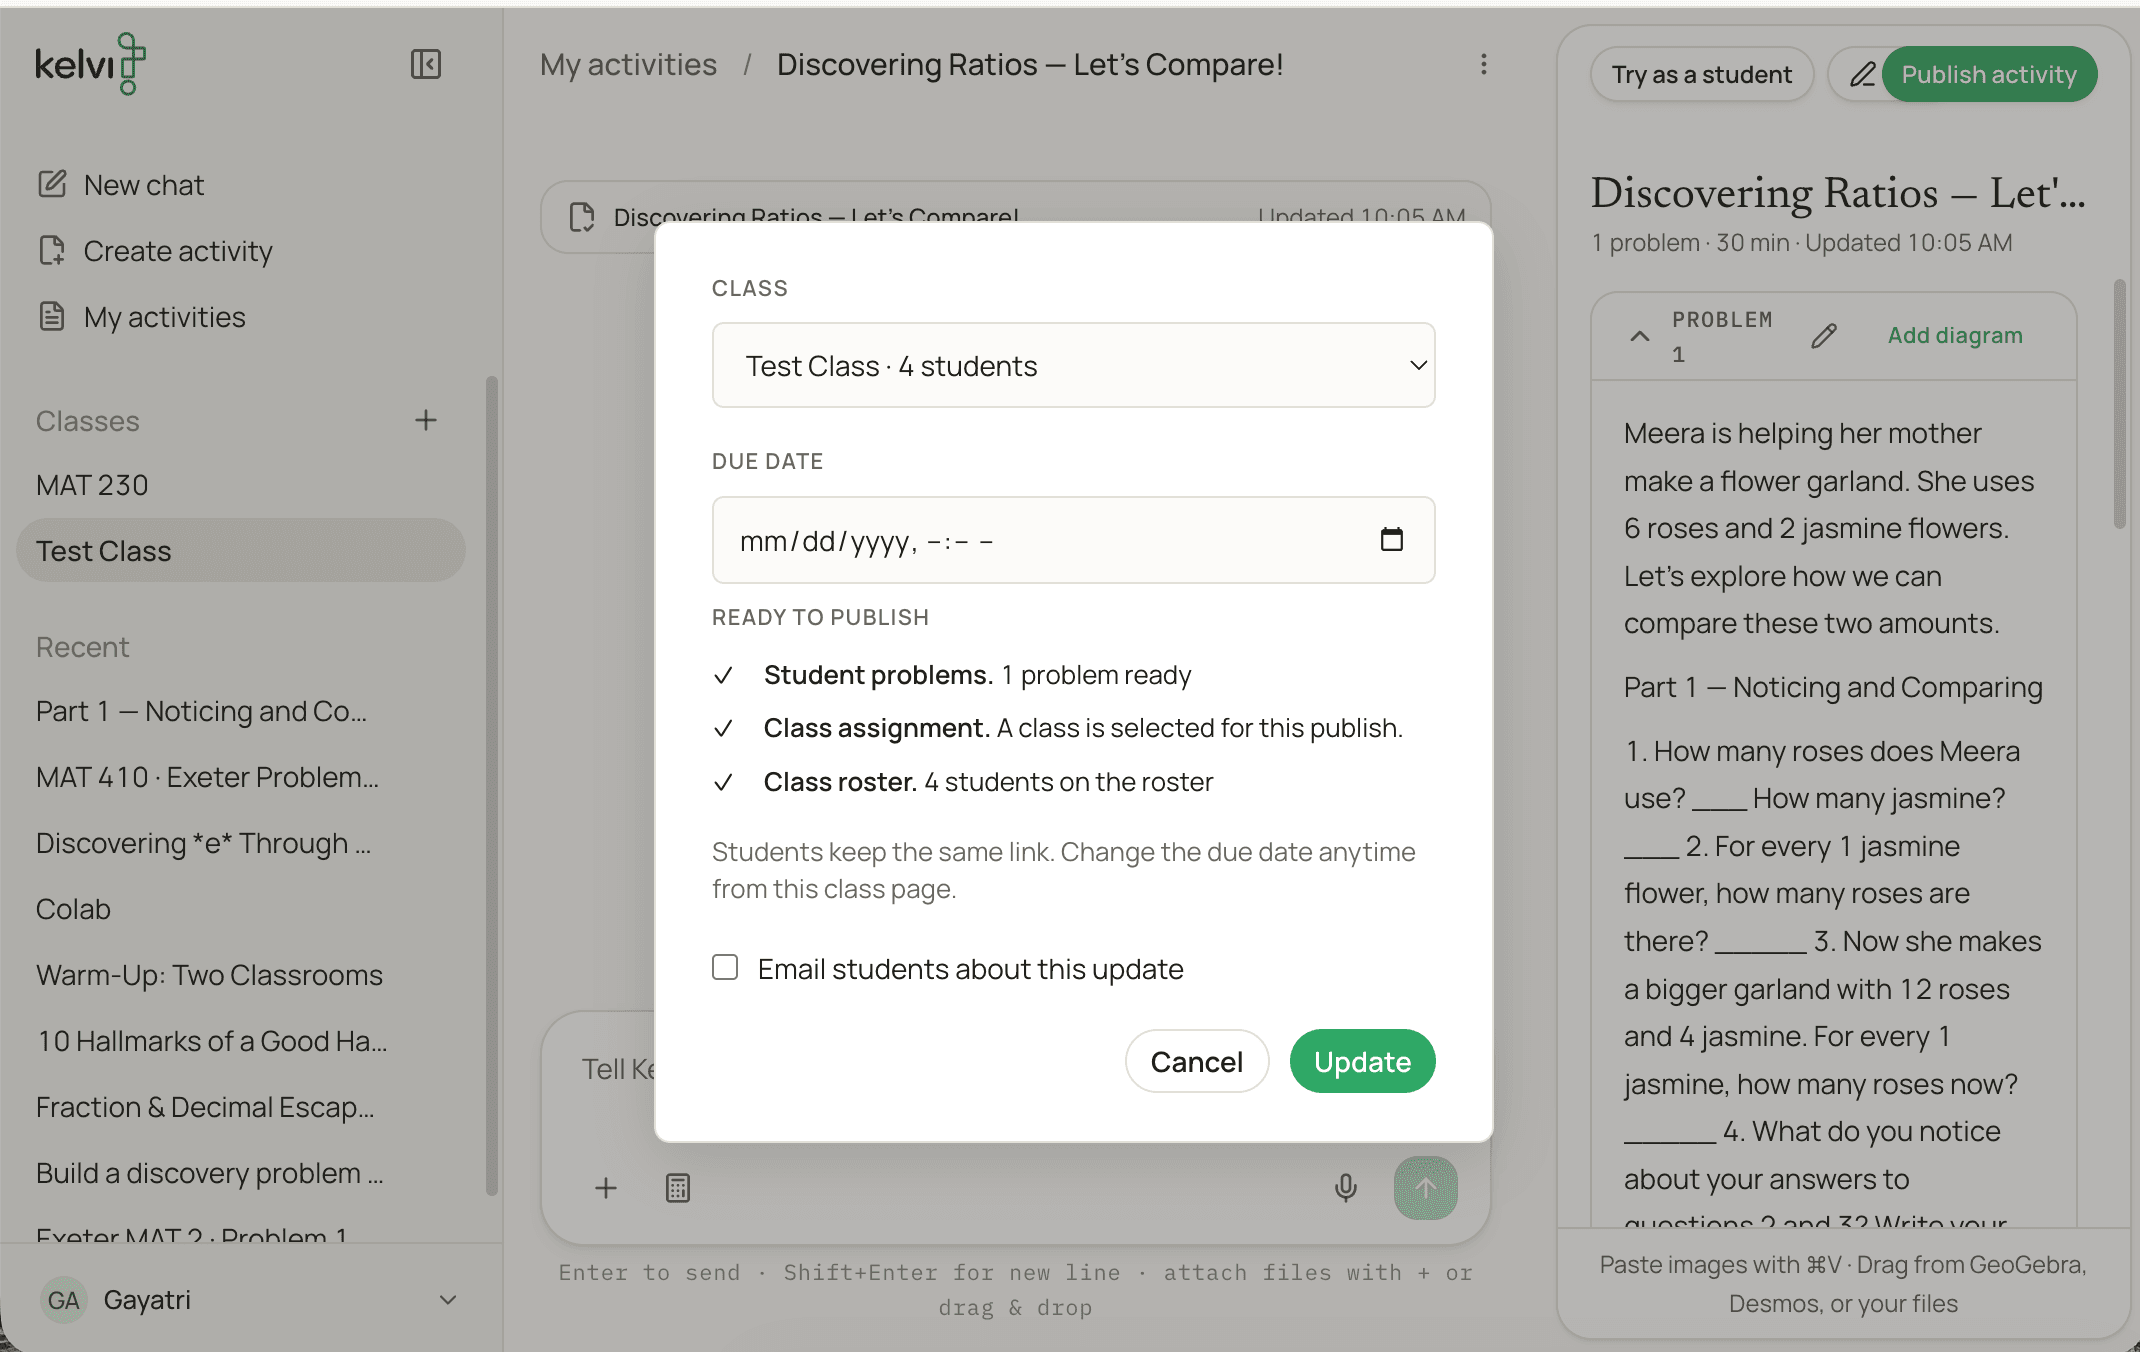
Publish to a class and set a due date. Students open the activity after signing in with Google, an email code, or the username and PIN on their login card.
Reading student thinking
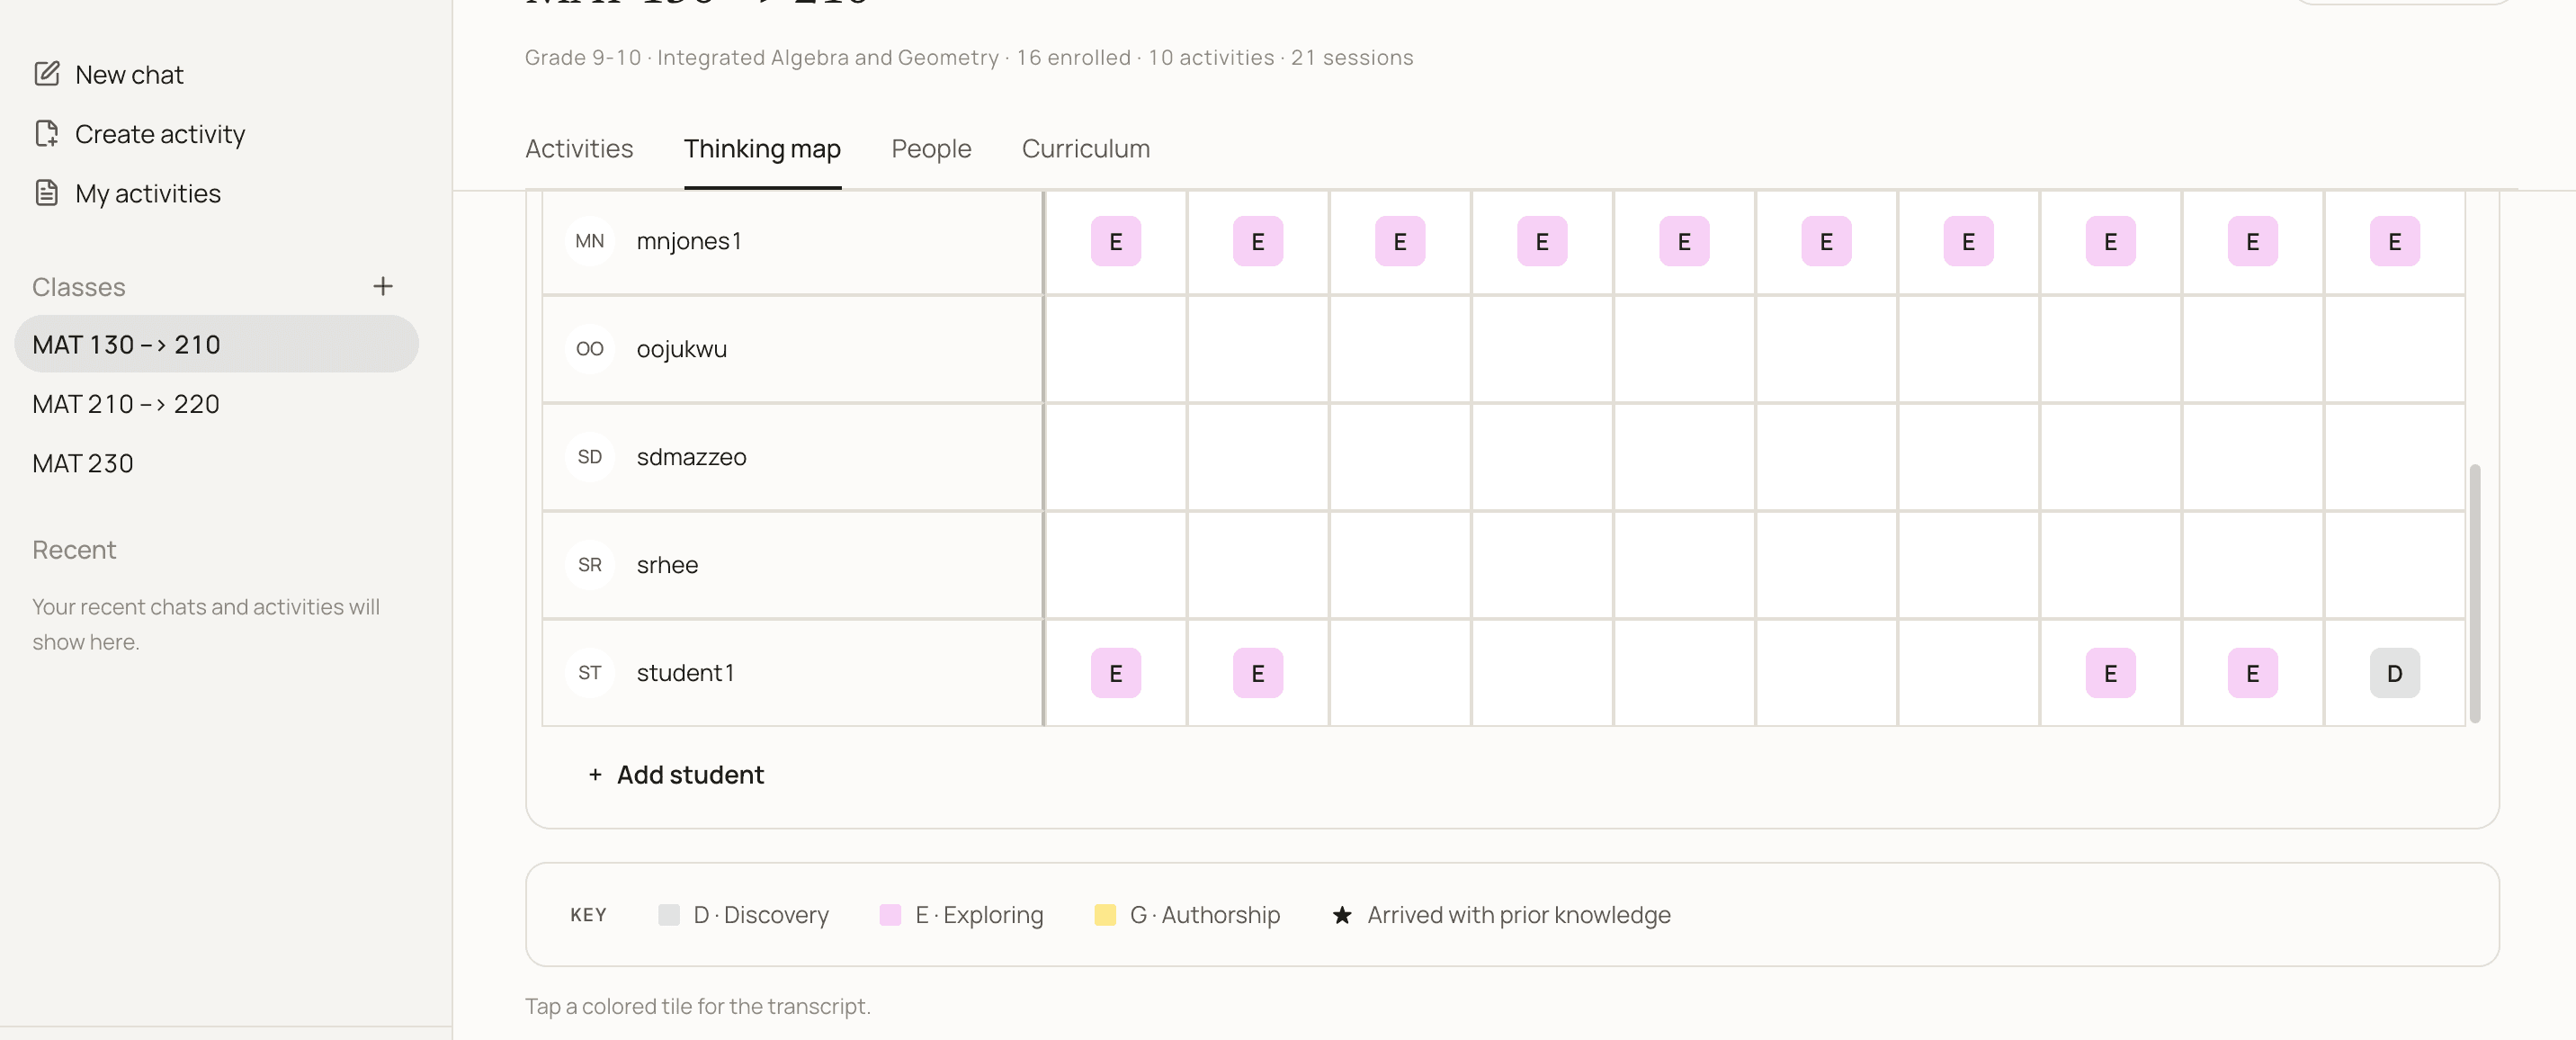
Once students have worked on an activity, open it in Teach to read their sessions — the full conversation, their first instincts, their wrong turns, their moments of insight. The thinking map gives you this across your whole class at a glance, session by session. This is where Kelvi is most useful for planning your next lesson: you'll know before class which ideas landed and which need revisiting.
What students see
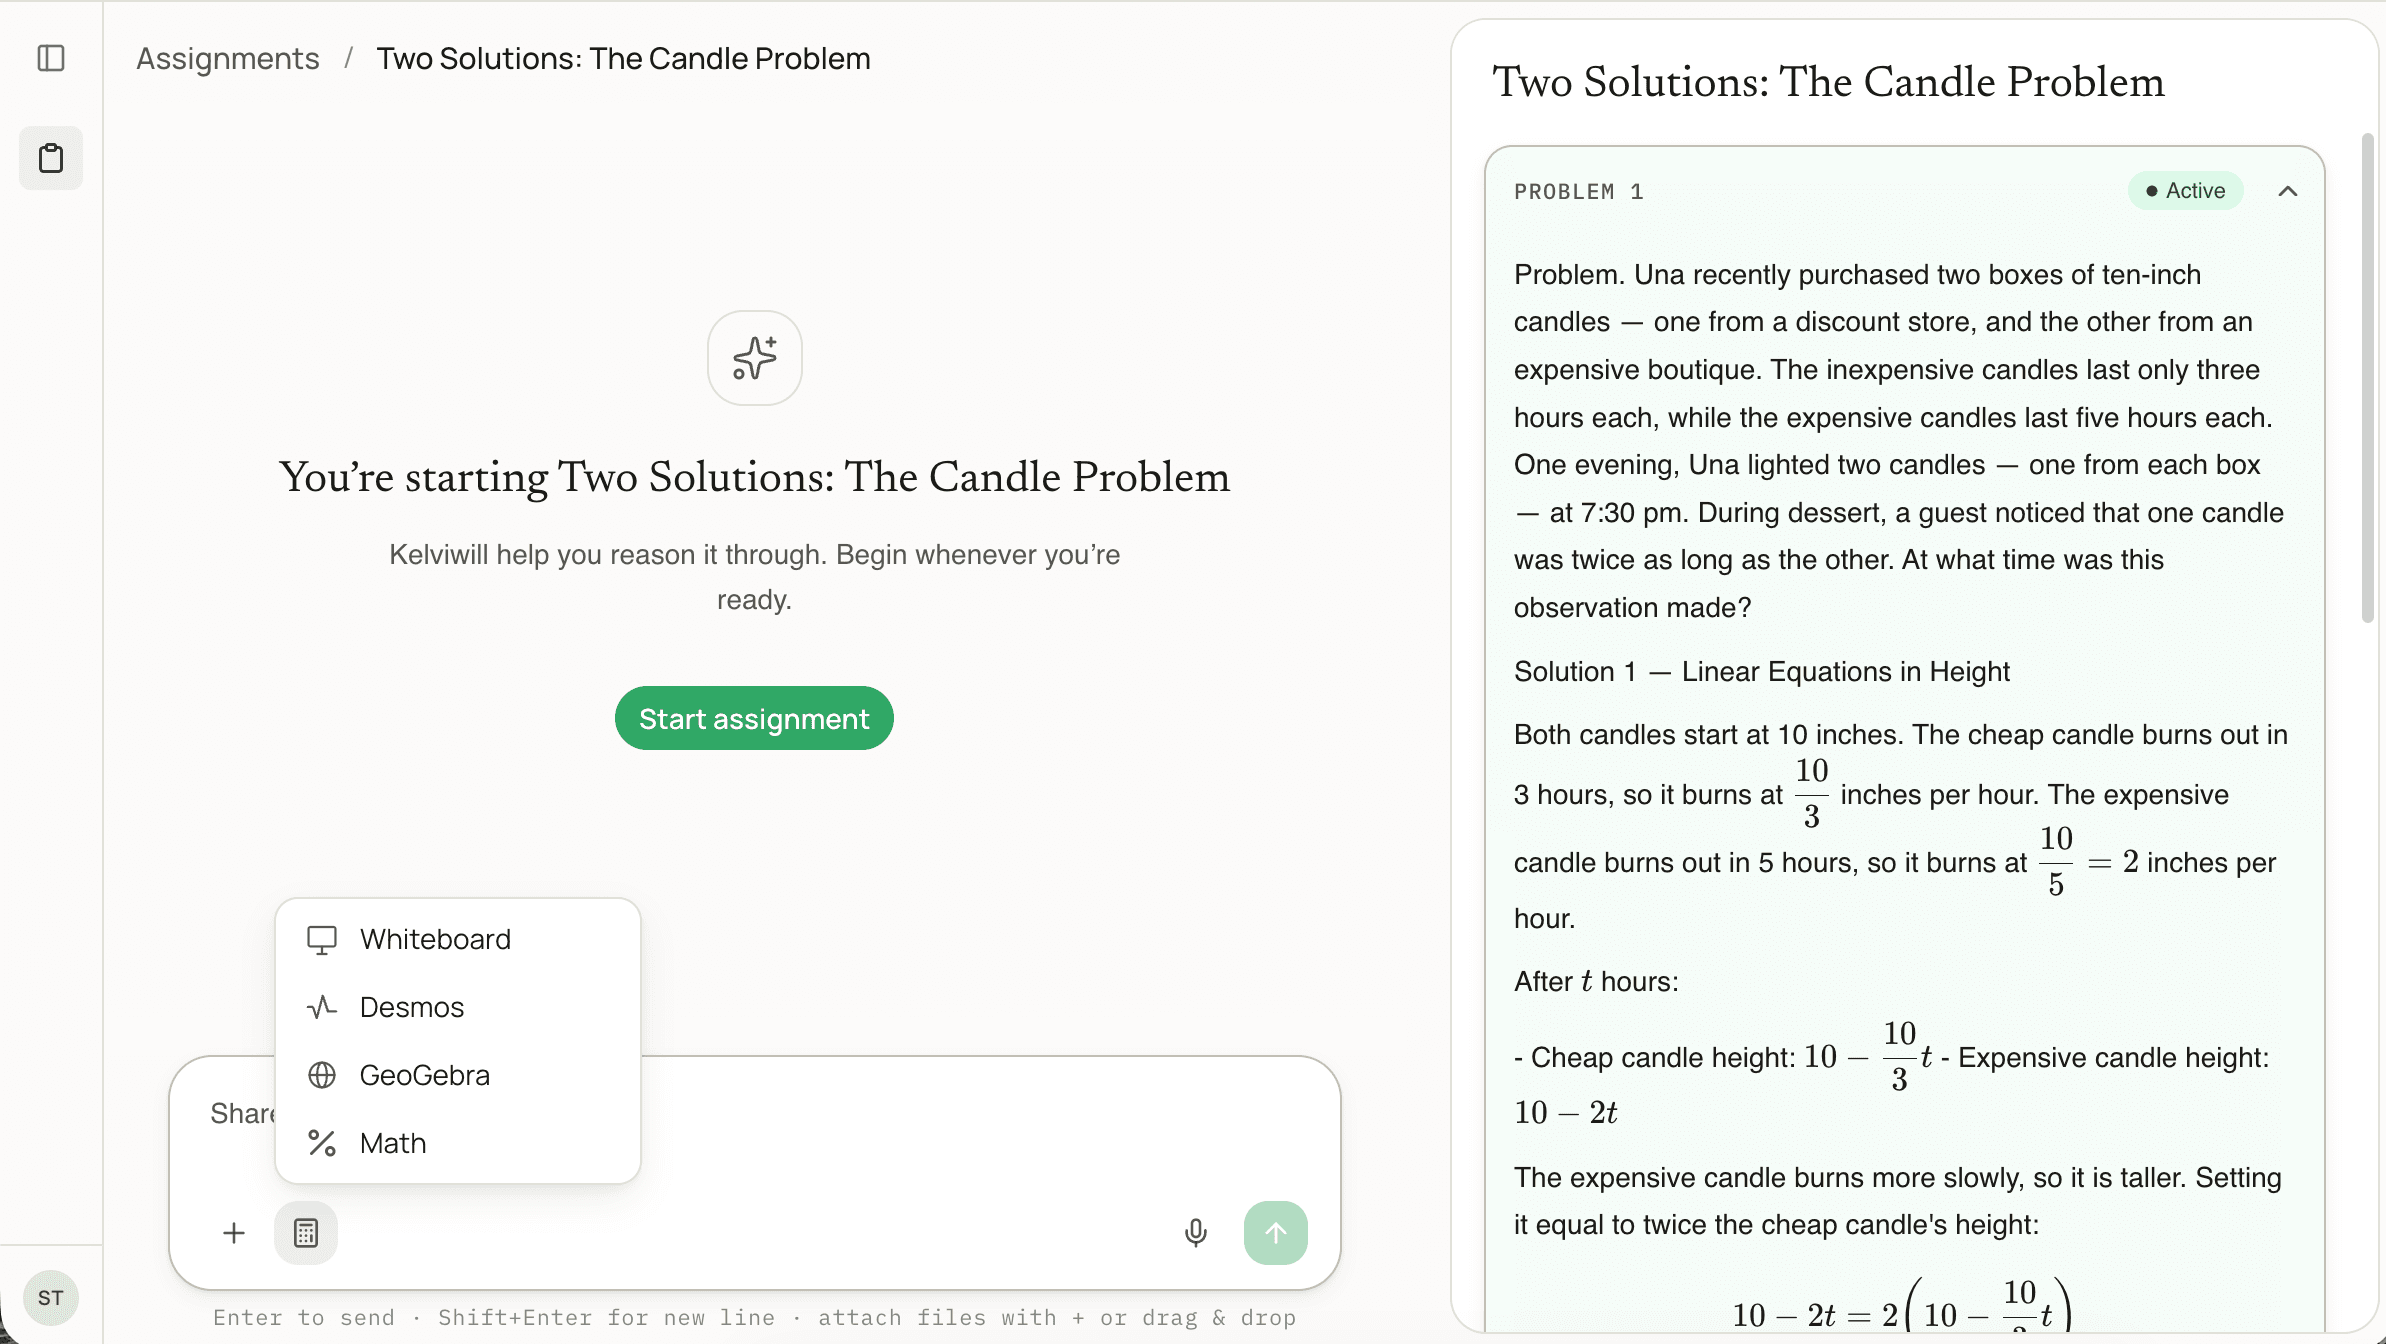
Students use Google, an email code, or their school login card. If a student forgets their PIN, make a new one in Manage students. Their saved work stays with them. In an assignment, they have Whiteboard, Desmos, GeoGebra, speech-to-text, and Math Type on hand, so they can reason in whichever form fits the problem.
Ready to try it with your class?
It takes about fifteen minutes to go from sign-up to your first shared activity.
Set up your class